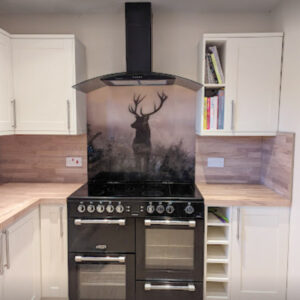
The Ultimate Guide to Splashbacks
The Ultimate Guide to Splashbacks
 Everything you need to know about a splashback in one very handy guide:
How to Measure Your Hob or Cooker Area Correctly for a Splashback
Getting the right size for your splashback is crucial for both functionality and aesthetics. This guide will walk you through the steps to ensure you measure correctly.
Steps:
- Prepare Your Tools: You’ll need a metal tape measure, a pencil, and paper or a notepad.
- Measure the Width: Start from the edge of your cooker or hob, and measure to the other end. It’s a good idea to measure from multiple points to ensure accuracy, especially if the wall isn’t entirely straight.
- Measure the Height: Decide where you want the bottom of the splashback to start (usually from the top of the cooker or hob) and measure up to where you’d like it to end. Consider any plugs, switches, or fittings that might be in the way.
- Double-Check Measurements: It’s always a good practice to measure twice to avoid any costly mistakes.
Accurate measurements will ensure your splashback fits perfectly and enhances the overall look of your kitchen.
Tips for Choosing an Image or Matching a Specific Colour
With so many design choices, picking the right image or colour for your splashback can be daunting. Here’s a guide to help you navigate this.
Tips:
- Consider the Room’s Ambiance: Think about the mood you want. A tranquil beach scene may create a calming environment, while a bold abstract pattern might add energy.
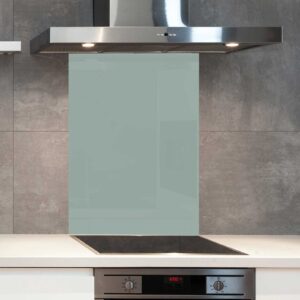
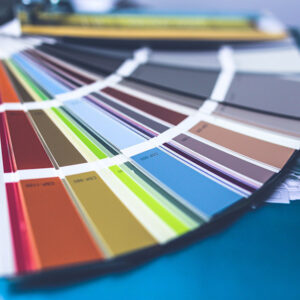
- Colour Matching: If you’re looking to match a specific colour from your kitchen, use colour swatches or a sample to get the closest match.
- Think Long-Term: Trends change, but your splashback will be there for a while. Pick a design that you’ll love both now and in the future.
Your splashback can be the centrepiece of your kitchen. Take the time to select a design that resonates with you and complements your space.
A Guide to Installing the Splashback Safely and Effectively
Once you’ve chosen your splashback, the next step is installation. This guide will help ensure it’s done right.
Steps:
- Prepare the Area: Ensure the wall is clean, dry, and free from grease.
- Mark the Area: Using a pencil, mark where the edges of the splashback will be.
- Apply Adhesive: Use a high-quality adhesive suitable for glass and spread evenly on the wall.
- Place the Splashback: Gently press the splashback onto the wall, ensuring it’s straight and aligned with your markings.
- Seal the Edges: Once the splashback is secure, seal the edges with a clear silicone sealant to prevent moisture getting behind.
Proper installation will ensure your splashback looks great and functions as it should.
Maintenance: How to Clean and Maintain Your Glass Splashback
To keep your splashback looking its best, regular maintenance is essential. Here’s how to care for it.
Tips:
- Avoid Abrasive Cleaners: These can scratch the glass. Instead, use a soft cloth with warm soapy water.
- Tackle Spills Immediately: Wipe away any splashes or spills straight away to prevent stains.
- Use a Glass Cleaner: For a streak-free shine, finish off with a good quality glass cleaner.
With proper care, your glass splashback will remain a beautiful feature in your kitchen for years to come.
Tips for Handling and Installing Glass Without Risking Breakage or Injury
Safety is paramount when working with glass. Here’s how to handle and install your splashback without risk.
Tips:
- Wear Protective Gear: Use gloves to protect your hands from sharp edges and safety goggles to shield your eyes from any splinters.
- Don’t Force It: If your splashback doesn’t fit or isn’t aligning, don’t force it into place. Check measurements and trim if necessary.
- Use the Right Tools: When trimming or adjusting, use glass-specific tools to prevent breakage.
By following these safety precautions, you’ll ensure both you and your splashback remain in perfect condition.
Latest Kitchen Decor Trends and How They Can Be Incorporated Using Splashbacks
Kitchen trends evolve, and splashbacks can play a key role in keeping your space modern and stylish. Here’s a look at current trends and how splashbacks fit in.
Trends:
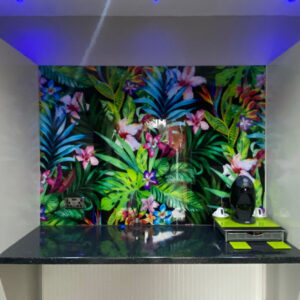
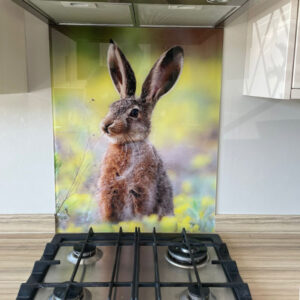
- Nature-inspired Designs: As we’ve previously explored, nature motifs are big right now. Consider leaf patterns, floral designs, or landscape imagery.
- Metallic Hues: Metallics, especially rose gold and copper, are trending. A splashback with a metallic sheen or pattern can add a touch of luxury.
- Monochrome: Black and white kitchens remain timeless. Consider a splashback in a striking black and white pattern for a classic yet contemporary look.
By staying abreast of the latest trends, you can ensure your kitchen remains stylish and up-to-date.
There you have it, our ultimate guide to splashback from choosing the right one to install and care. If we hear anything new or trail any new methods we’ll update this guide. Until then, happy shopping.


